Reading the docs…
Stopped.
This tour assumes an instance is running and you can sign in to it. If you’re setting one up, start with Deploy Tack.
Open your instance and choose Continue with GitHub. Tack uses your GitHub account: “You’ll see what GitHub lets you see, and nothing changes on GitHub until you push it.”
On the home page, choose New board (or Create your first board), pick a template or a Blank board, and choose Create board. Its title is selected, so you can type a new name and press Enter.
Paste an issue or pull request link onto the board with ⌘ V (Ctrl V on Windows and Linux). It becomes a live card. You can paste up to 50 links at once, one per line, and they’re laid out in a grid. Or press C and type a few words to search for one, or owner/repo#123.
Press S and click to add a sticky, then type. Each sticky shows who wrote it. Press T for text, for headings and notes.
Press F and drag out a section around some cards and stickies. Name it. Anything dropped inside moves with it.
Press X and drag from one shape to another to connect them. Or hover a shape with the select tool and drag one of the dots beside it.
Everyone else on the board sees all this live, with their cursors and names. Press / to chat beside your cursor, and click someone’s avatar to follow their view.
Select two stickies (drag a box around them, or Shift-click). A bar appears under the selection. Choose Make 2 issues (⌥ I), pick the repository, and choose Stage 2 issues. A ghost card behind each sticky shows it’s staged. Nothing has been written to GitHub.
Select a card and press ⌥ L to stage a label. Staged changes show on the card, and in the Changes button in the top bar.
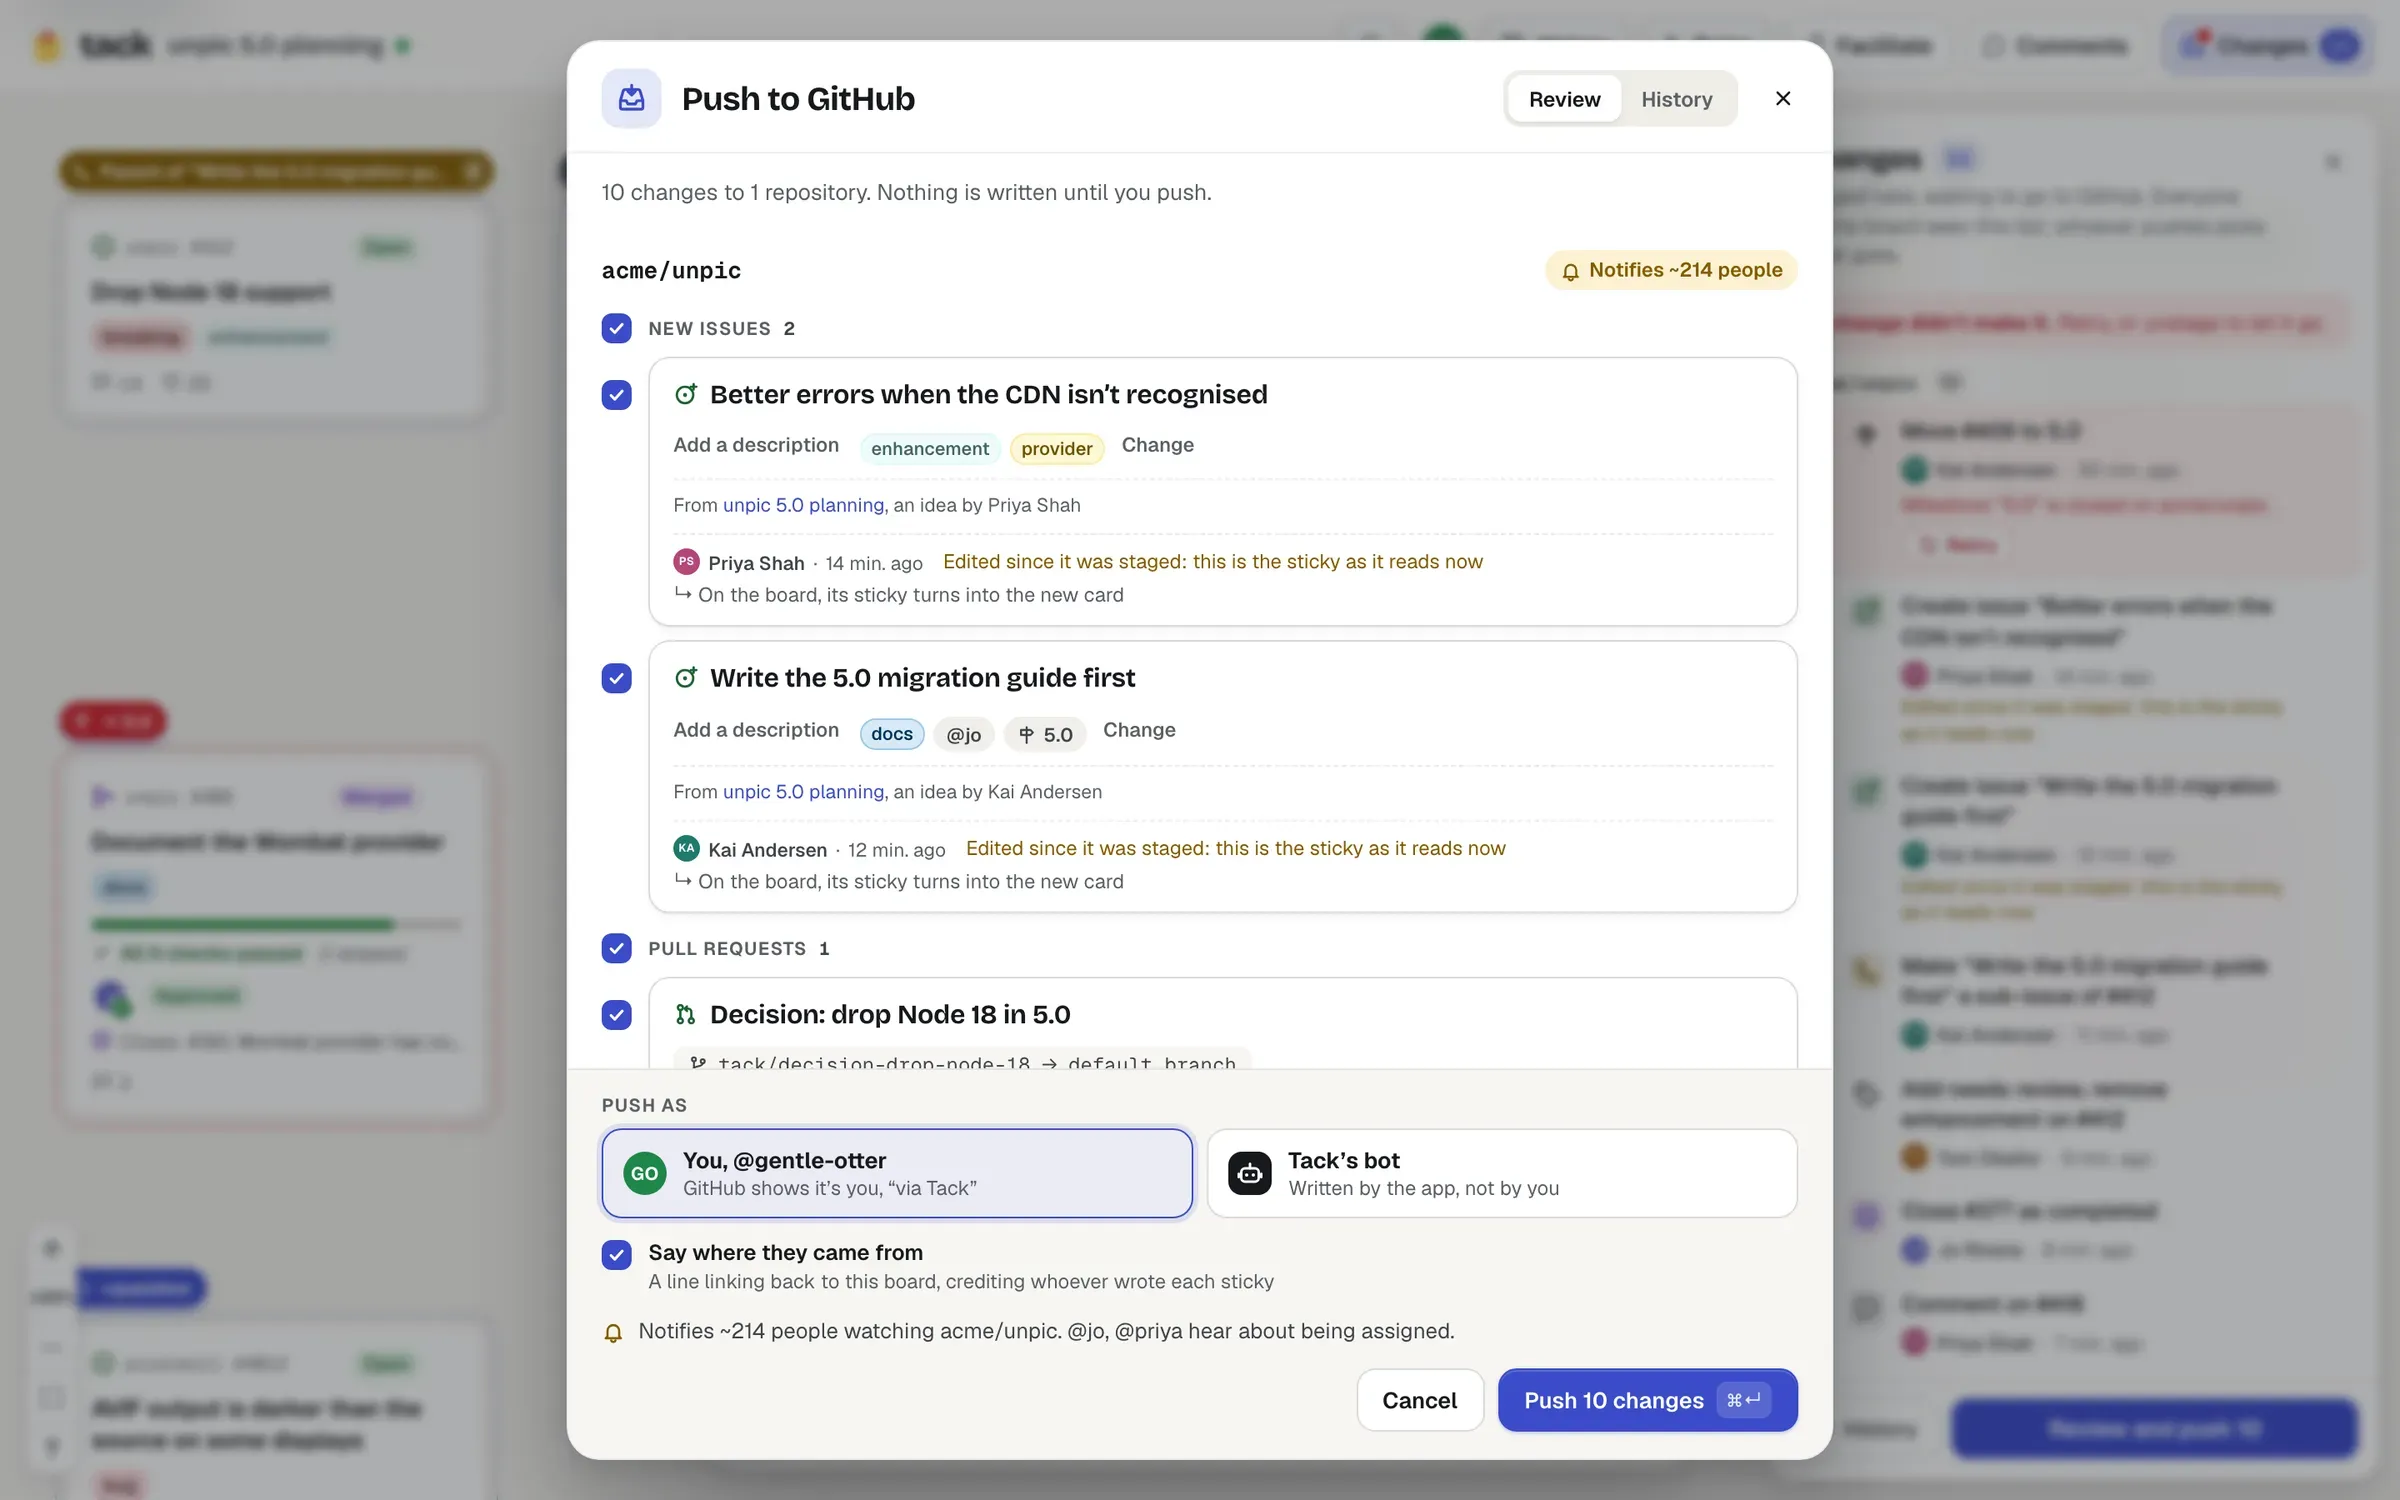
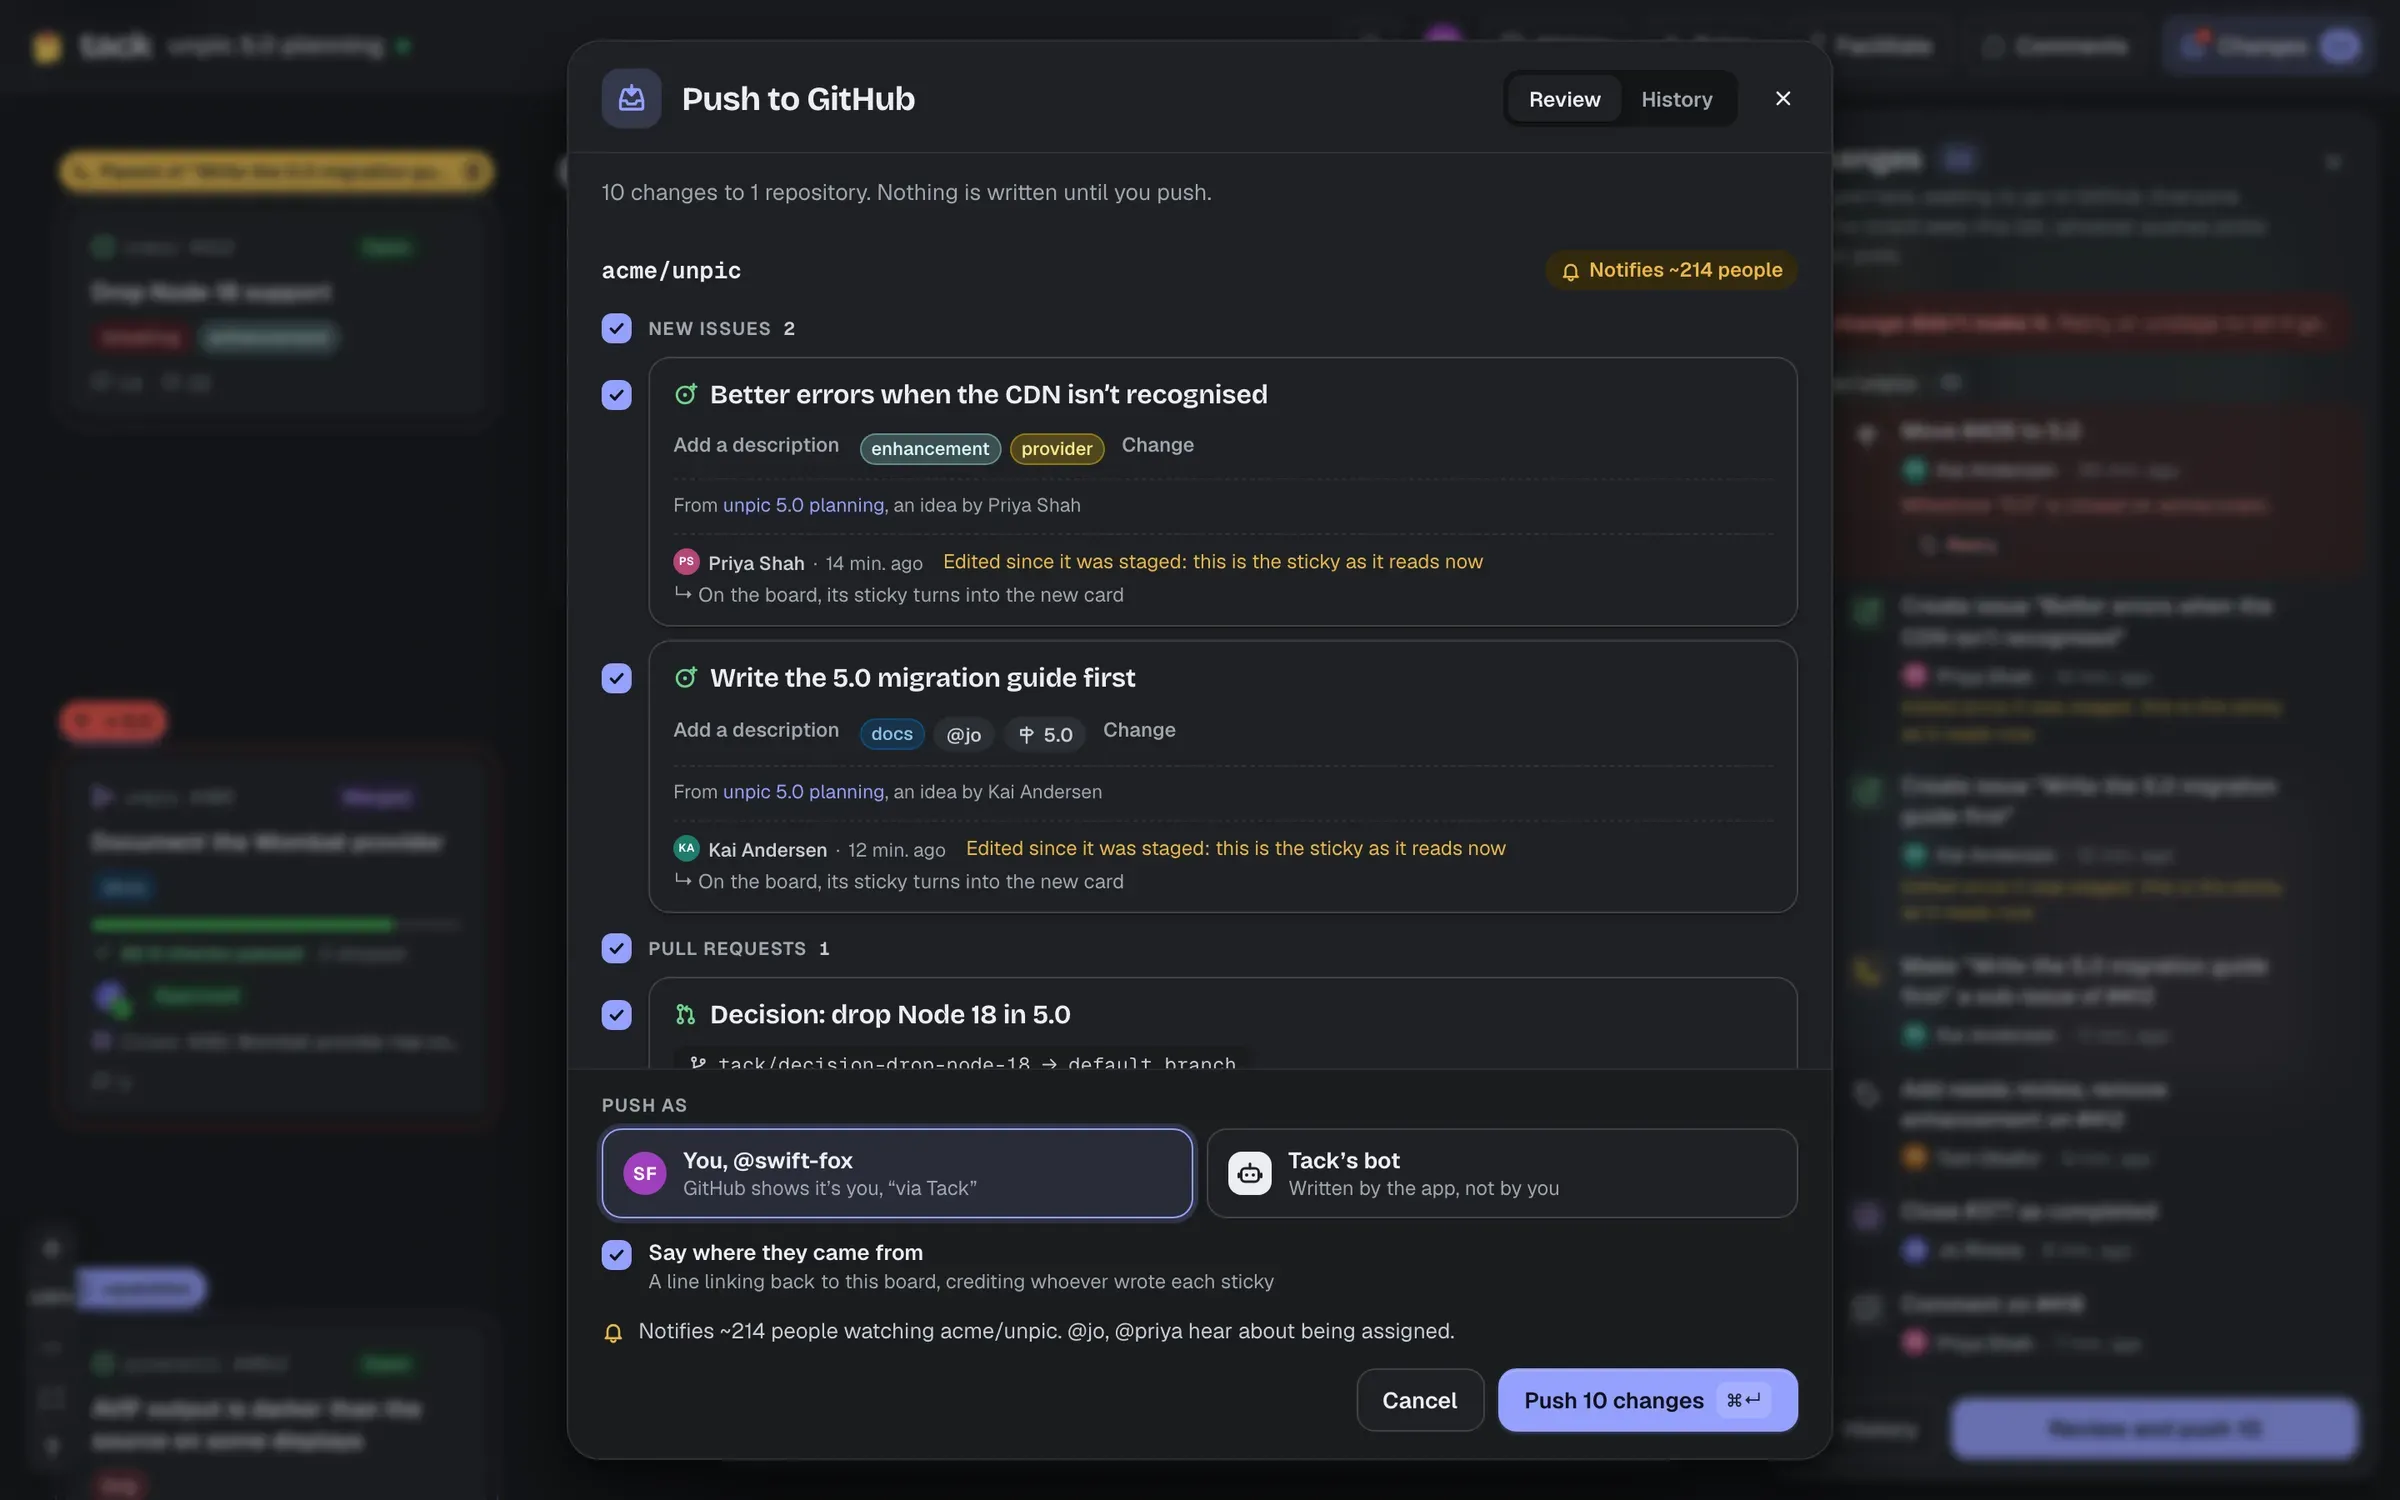
Choose Changes, then Review and push. The push sheet shows every change with a preview: issue bodies, labels, and how many people will be notified.
Keep Push as: You and choose Push 3 changes. Each change lands one at a time, and the sheet says “All 3 changes are on GitHub” when GitHub confirms them. The stickies turn into their new issues’ cards, in place.
Choose Share in the top bar, and invite people by GitHub username, as Can edit or Can view. Or open the board to everyone on your instance, or to anyone with the link. See Boards and sharing.